Fall arrives and things are getting frosty. Think the planting season is over? Think again! Garlic is valued for its health benefits, flavor enhancement for our culinary creations and ability to scare away vampires. Well, I’m not sure about that last one, but it’s glorious nonetheless.
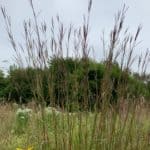
Garlic needs to be planted in the fall and over-winter outside for best results. An 8 month long growing cycle and a required minimum of 6 weeks of chilly temperatures for bulb (head) formation makes it a perfectly suited crop for Midwest gardens.
As an Amazon Associate, I earn from qualifying purchases.

Here are the basics to get started growing your own garlic now and for years to come.
Selection
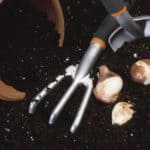
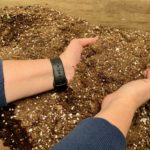
Choose the best garlic heads – the first year you will need to obtain your garlic from a nursery or from a friend who grows garlic. Do not try to plant garlic from the grocery store. It is treated with an additive to prevent sprouting – another great reason to grow your own.
I grow hard-neck garlic, as opposed to soft-neck varieties. Hard-neck is the easiest to grow in the Midwest climate. If you are interested in braiding your garlic for storage, look into growing a soft-neck variety. Local nurseries will stock varieties that will do well in your area. There are many types of garlic to choose from all offering their own unique characteristics and flavor.
Once you’re underway with growing your garlic, you’ll be able to continuously save the best cured bulbs from your harvest each year for dividing into cloves for replanting. In this exercise in natural selection, your efforts should over time result in larger, better heads of garlic.
Planting
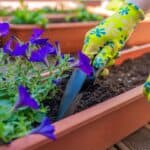
I’ve found the most success planting my garlic cloves from October through November. Choose a time when temperatures are mild and not extremely hot. Seriously though, if time got away from you, it’s now late fall and you can still get through the not-quite-frozen ground, plant away! Odds are in your favor.
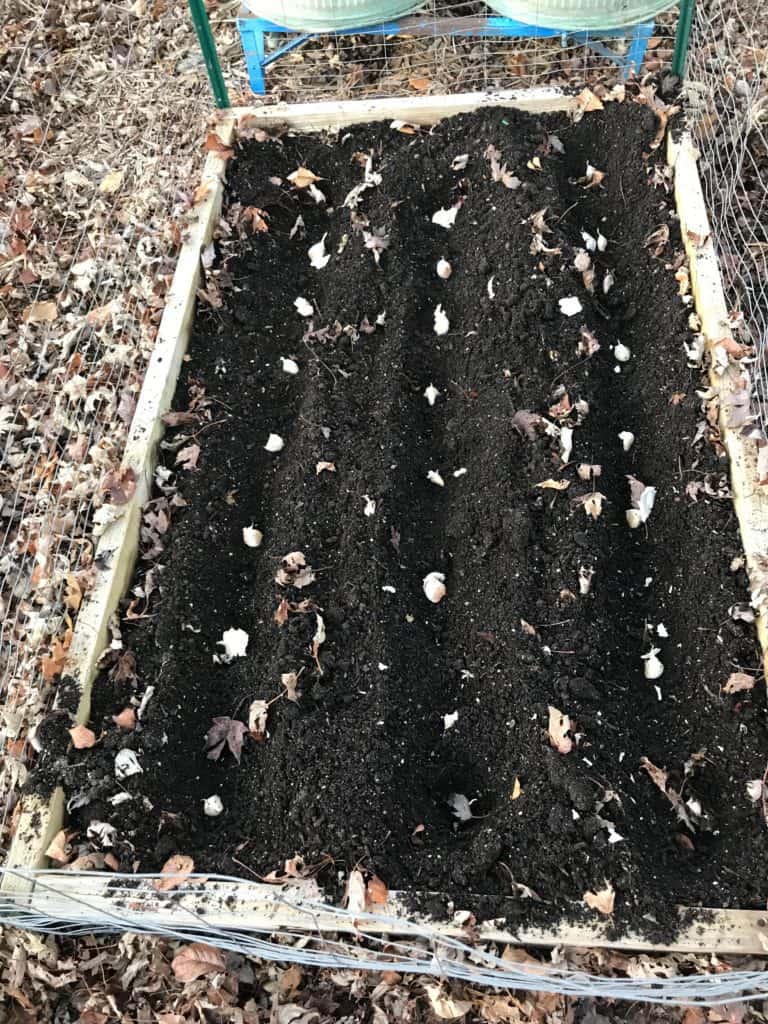
Raised beds are great for growing garlic due to the excellent drainage, but you can also grow in-ground in loose, healthy garden soil. Separate into cloves and plant 1 to 2 inches deep and 4 to 6 inches apart in full sun. The cloves should be placed plump side down (where the roots will form) and pointy side up. Cover with soil and top with 6” of leaves or straw.
Watering
Keep your newly planted garlic evenly moist after planting and until the ground freezes. Roots are forming during this time. When shoots emerge in spring, you can water occasionally if rain is in short supply. Truthfully, I don’t worry about my garlic much at all and it does just fine.
Spring
When the temperatures begin to warm consistently in spring, uncover the garlic. You will likely see green shoots emerging.
Fertilizer
The only fertilizer I ever use is the compost I fork into my raised beds once or twice a year.
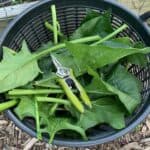
Scapes
As your garlic continues to grow, you will eventually notice curly stems emerging from your plants. These are the scapes and your garlic is trying to go to seed. Remove the scapes, discard the seed head on top and enjoy gourmet, rare and expensive to buy garlic scapes. They are delicious. Use them as you would a green onion. I love them in omelettes, salads, stir-frys or soups. They freeze well too. Just rinse, dry, chop and freeze.
Harvest
Carefully pull your entire garlic plant when the leaves have browned halfway down, usually in mid-June in the central Midwest. Use a garden spade if they don’t pull out easily.
Curing
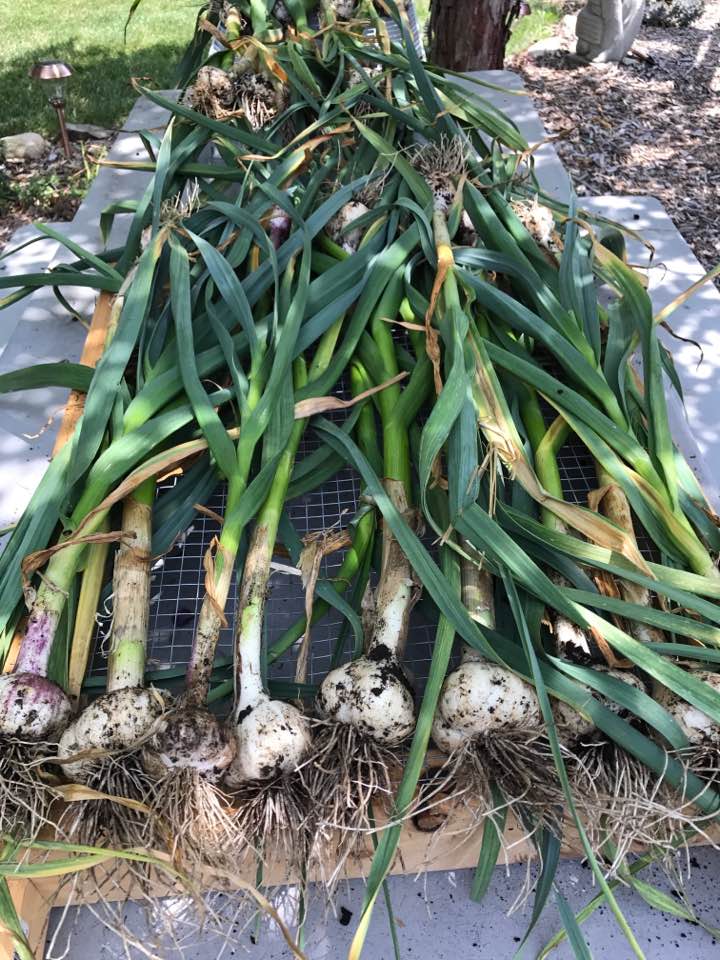
Leave the stems and leaves on. I try to harvest my garlic when the forecast calls for several days of dry weather. Place garlic plants on a screen frame that provides circulation of air on all sides. A turned over compost sifter is perfect for this task. They are easy to make if you don’t have one with many plans available online.
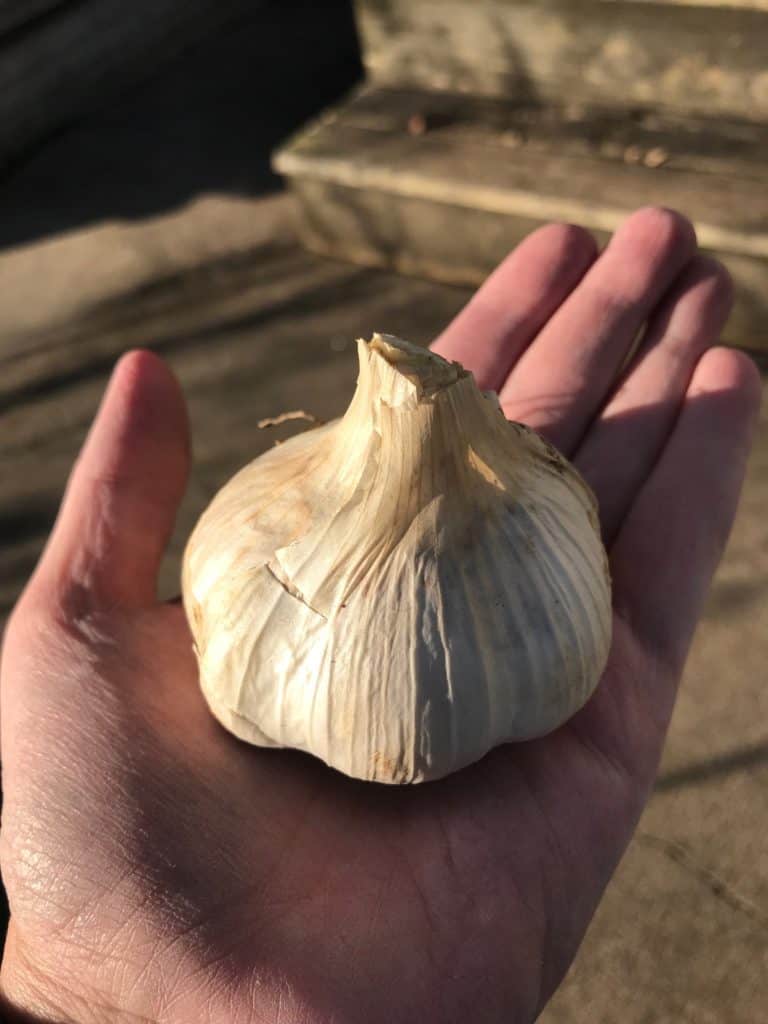
Leave garlic outside for as long as possible, or even better in an open-air screened porch or under an overhang. If outside in the elements, move into shelter if rain is in the forecast. Animals including pets, raccoons and rodents do not typically bother curing garlic due to the strong fragrance. If humidity or other weather issues are a problem, you can cure your garlic inside in a dry area. Garlic has completed curing when the stems and leaves are dry and the garlic bulb has a papery skin. When cured, cut off the stem and leaves. Compost those and store your garlic in a cool, dark location for the next year.
Enjoy! A garlic press is great for preparing your garlic or chop with a knife. Repeat the process again and again for years of delicious garlic.
SHARE IT ON PINTEREST