Your harvest is booming and you’re wondering what the heck to do with all of this bounty. Through trial and error, inspiration from friends and family and ideas from others, these are my faves for using up my delicious, nutritious veggies. Enjoy!
I’m very much a “dump cook” meaning I don’t measure for any of these so don’t overthink it. Experiment and have fun. Each of these recipes are incredibly forgiving.
Homemade veggie broth
How much broth do you use every year? If you cook often, the answer is probably a lot. Now, think about how many veggie peels — and other parts you don’t typically eat — get thrown away every year. Naturally, these can go into the compost pile, but I encourage you to save them and make veggie broth before they journey to become compost.
Thanks to my dear friend and longtime gardener, Rebecca, for teaching me this easy method for using garden scraps years ago. This has to be one of my all-time favorite gardening (and beyond) hacks.
Directions:
- Keep a gallon zipper bag in your freezer labeled “Broth Scraps <DATE>”.
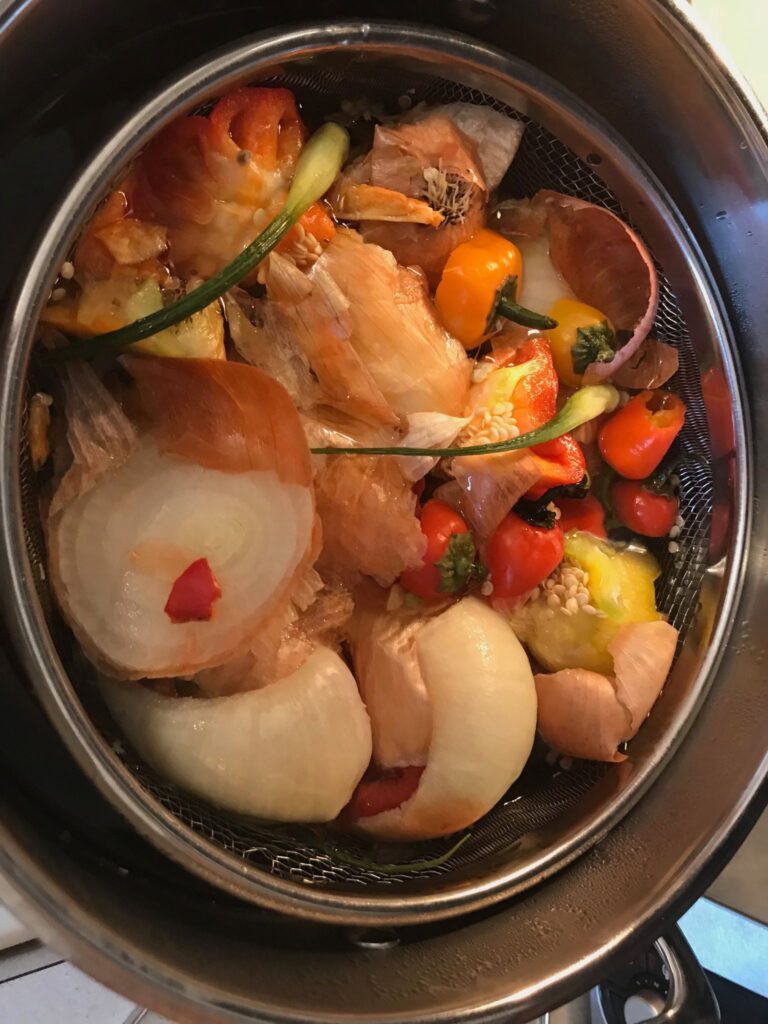
- Save and add any clean, non-starchy, non-spoiled veggie scraps – things we would not eat, too, like carrot tops, onion skins, celery bottoms, herb trimmings, garlic peels – save it all!
- When the bag is full you have enough to make broth.
- Add the contents of your bag to a big stock pot and fill ¾ full with water or until veggies are completely covered. I recommend using an insert strainer in your pot so you can easily pull out the veggies when done.
- Bring to a boil. Reduce heat and simmer for one hour or all day – your choice!
- Strain or remove the insert strainer. Now you can compost those veggies.
- Pour broth into freezer-safe containers (recycled containers are perfect). Leave ½ inch of headspace at minimum.
- Cool, cover, label, and freeze!
By using this method for making veggie broth, you’ll reduce the need to purchase broth at the store and can cook with a healthier alternative than meat-based broth. The best part? It’s 100% free, repurposing scraps that most people throw into the trash.
Kale Salad
2 bunches kale
½ cup feta cheese (or fresh grated parmesan cheese)
⅓ cup extra virgin olive oil
⅓ cup lemon juice
3 cloves garlic, finely chopped or pressed
1 to 2 T. honey
1 T. soy sauce
Tear or chop kale and add cheese. Mix all other ingredients then pour over kale. Blend the mixture with a couple of large spoons for approximately two minutes, or until kale is reduced in volume by almost half. Chill. Enjoy!
Customize this salad by adding other ingredients such as pine nuts, nuts, sunflower seed, craisins, diced dried fruits or anything else that sounds good to you.
Crockpot Marinara Sauce
You won’t believe how easy this is — thanks to my sister and talented gardener, Paula, for teaching me this technique.
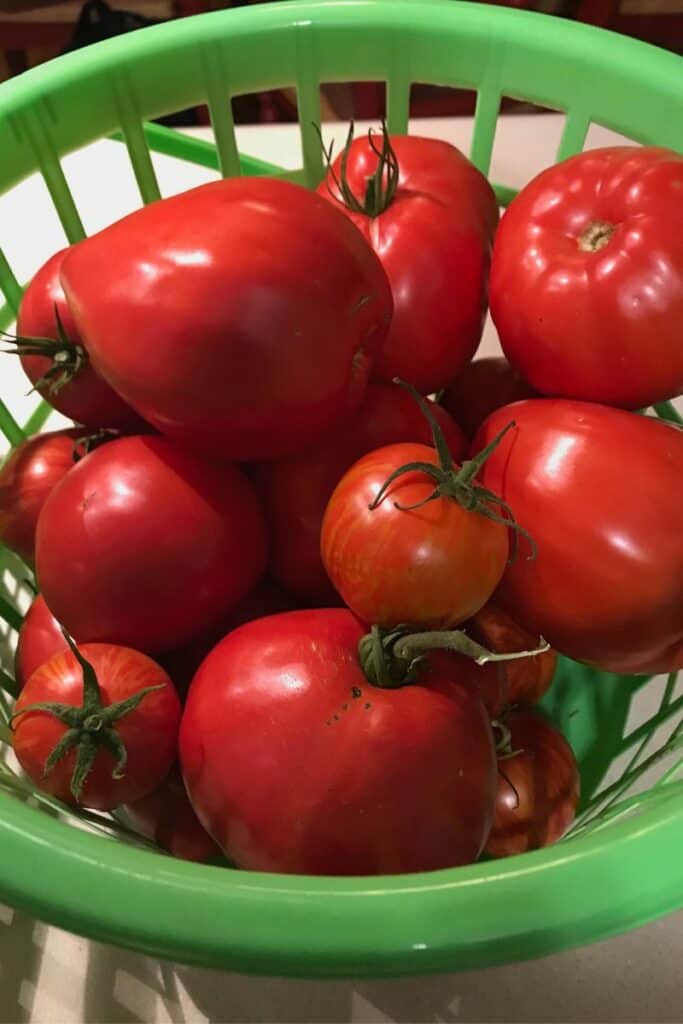
How many times are you inundated with a late season supply of tomatoes? Here’s a great way to use them up and give you that taste of summer for months to come.
If you don’t have an immersion blender, I strongly encourage you to get a good one. It makes this recipe a breeze and can be used for many different kitchen creations.
Directions:
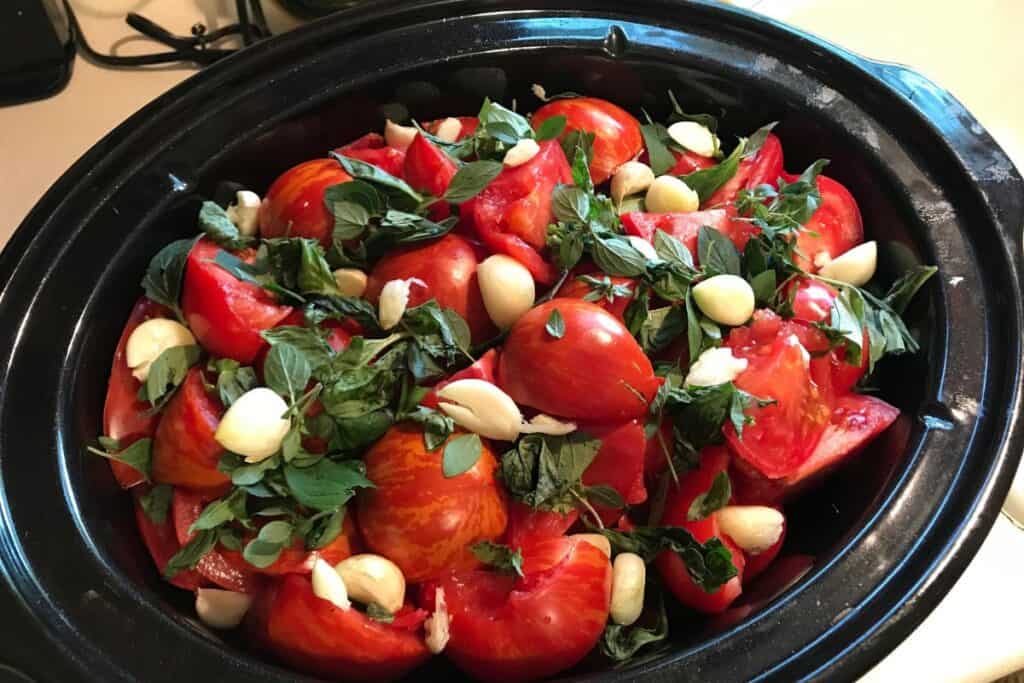
- Fill a big slow cooker with any kind of tomatoes (even cherry) that have been washed and cored. Half or quarter them if needed. Leave the skins on for less work, better nutrition and the best flavor.
- Add a handful of fresh basil and oregano to taste.
- Add peeled garlic cloves to taste – I use three to four large heads of garlic separated into cloves.
- Cover and cook on low all day (six to eight hours minimum).
- Insert immersion blender and blend until smooth. Then let the sauce cool..
- Pour sauce into freezer-safe containers (recycled containers are perfect). Leave ½ inch of headspace at minimum.
- Cool, cover, label, and freeze!
- Optional: For a thicker sauce, add tomato paste after thawing.
- Use as you would any tomato sauce. I love this on zoodles, noodles and in Italian casseroles.
Caprese Salad
This salad is simply delicious and couldn’t be easier. If you’ve grown cherry tomatoes, you know how you can become overwhelmed with the supply of these lovely, delicious jewels.
This is a recipe you can truly experiment with. Simply wash your cherry tomatoes, slice in half if they are too big for bite size. Toss in a bowl. Add fresh mozzarella pearls (balls), basil leaves and drizzle with balsamic vinegar, add salt and fresh cracked pepper to taste and serve.
For the basil leaves, use tiny leaves whole. For larger leaves, roll them up like a cigar and slice across creating strips, a technique known as chiffonade. Personally, I most often just tear up the basil leaves with my hands and throw it in.
Options:
This is so easy to customize. You might experiment by adding some olive oil, various seasonings and additional vegetables. You can also use large tomatoes and fresh mozzarella slices. Simply slice and layer the other ingredients on a serving tray.
Basil Pesto
2 cups fresh basil leaves, packed tightly
¾ cup shredded parmesan cheese
½ cup extra virgin olive oil
½ cup pine nuts or walnuts
2 large garlic cloves
¼ cup fresh lemon juice (1 to 2 lemons)
Salt and pepper to taste
Wash and dry the basil leaves. Blend everything in a food processor until smooth. If desired, add additional salt and pepper to taste. Store in an airtight container in the refrigerator for up to three days. I put a layer of plastic wrap directly on top of the pesto in the container to preserve freshness. For long-term storage, freeze in ice cube trays or other freezer-safe trays. Once frozen you can pop the cubes out into freezer bags if desired.
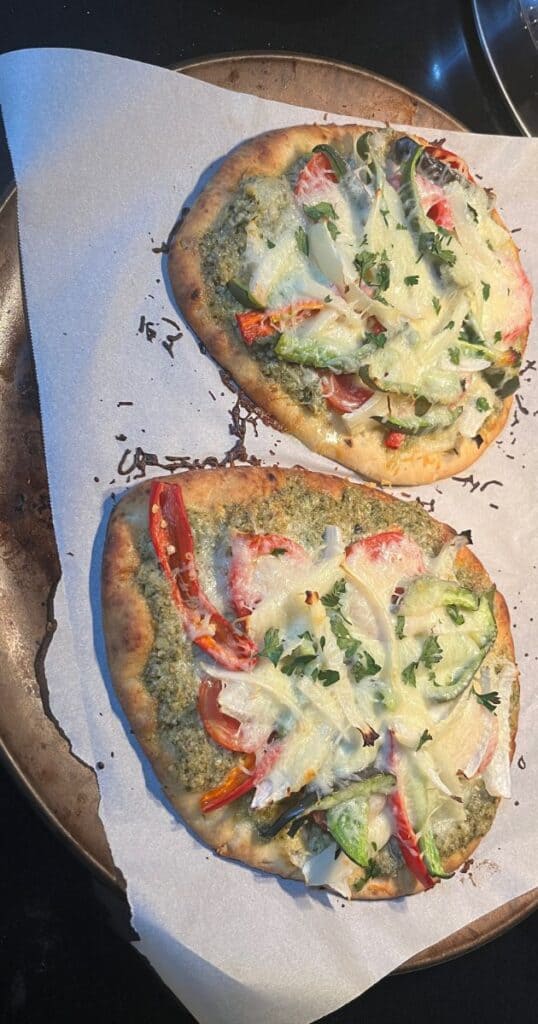
What to do with pesto? In addition to blending into pasta, use it anywhere you want a savory flavor burst. I love to use it as my base sauce for flatbread pizzas, then layer on garden fresh vegetables, shredded cheese and chopped parsley. Make this your own and put whatever you want on your pizza. You can also drizzle it on your eggs, toss with veggies or use as a sandwich spread. Use your frozen pesto cubes as a flavor boost for your favorite soup recipes.
No basil? Try making this recipe with parsley or celery leaves instead for a different taste adventure!
Fruit Fly Bait
As joyous as harvesting and preserving is, there’s one especially irritating visitor that runs in parallel with harvest time. It’s the pesky fruit fly that inevitably ends up in your kitchen, flitting amongst your fresh fruits and veggies or near your compost bucket.
There is no need to buy expensive fruit fly traps and chemical bait. Just follow this simple recipe to catch fruit flies easily and cost-effectively.
Directions:
- In a measuring cup, blend ¼ cup apple cider vinegar with a drop or two of dish soap.
- Pour into a shallow dish and set it near fresh fruit, compost buckets or where fruit flies have been seen. The flies will be attracted to the apple cider vinegar but, thanks to the dish soap, will sink when they attempt to taste.
- Clean the dish and replace your bait regularly. You will be amazed, and slightly grossed out, at how effective this cheap trick is.
There are endless more recipes and ideas online to give you ideas for using your garden bounty. Pinterest, a social media platform, is one of my favorite sources for inspiration. Make your own boards to “pin” your finds and make revisiting them easy.
SHARE IT ON PINTEREST
