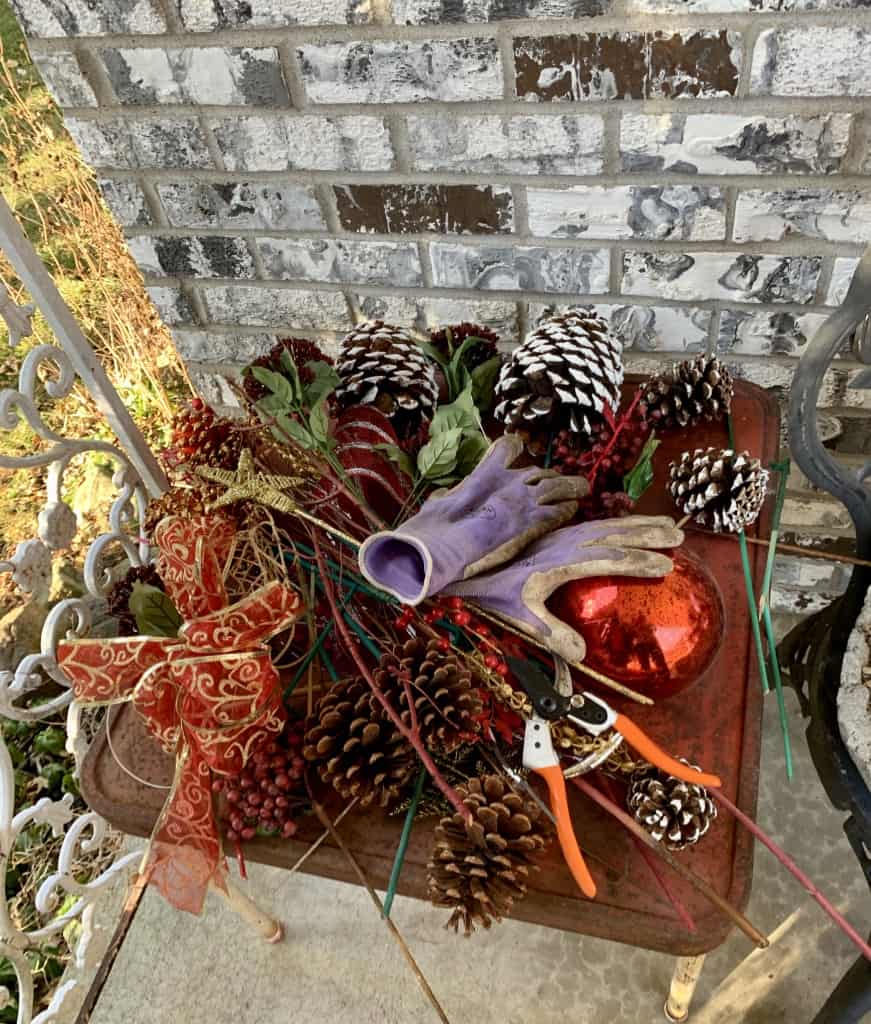
Happy holidays from Midwest Garden Gal! Here’s a great project to bring some holiday cheer to your outdoor spaces. Gather your friends, break out the hot cocoa, put on the holiday tunes and enjoy this fun family project that will surely become an annual tradition.
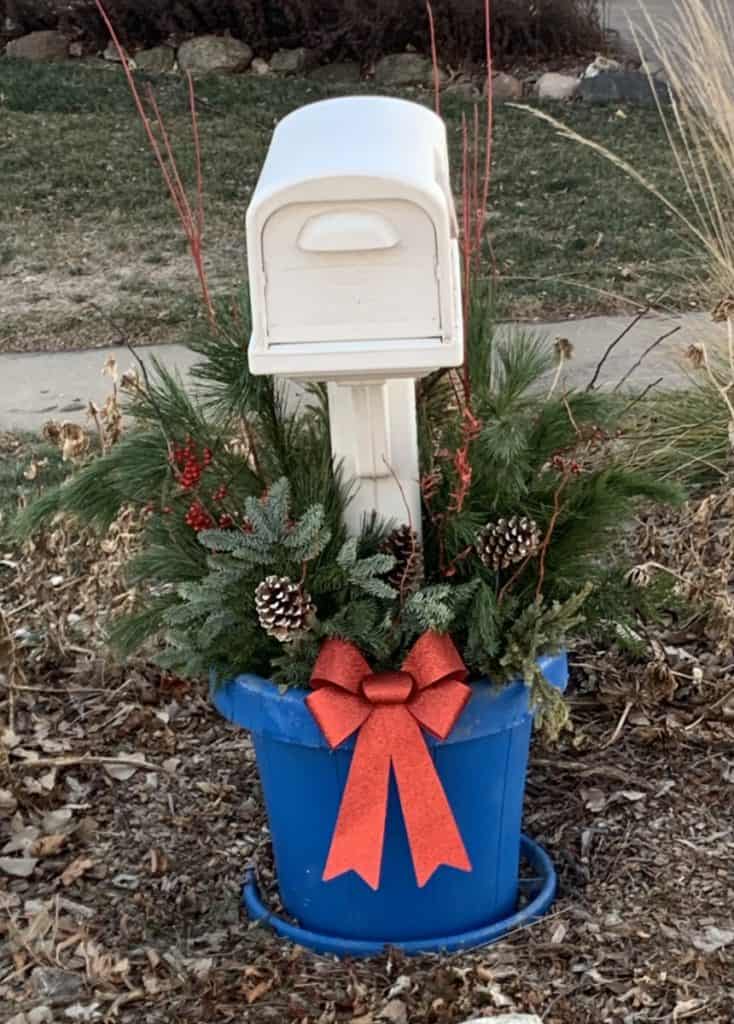
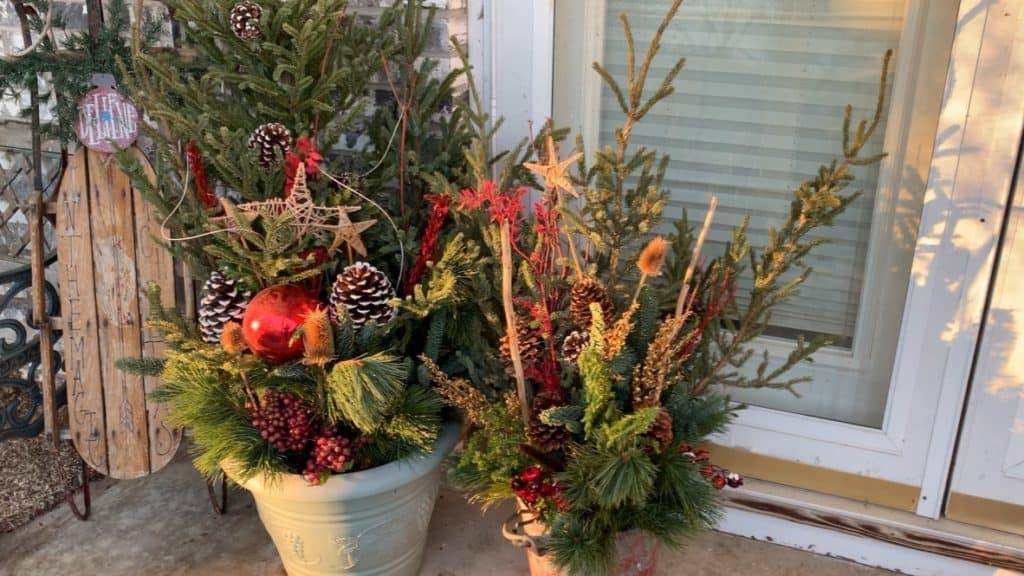
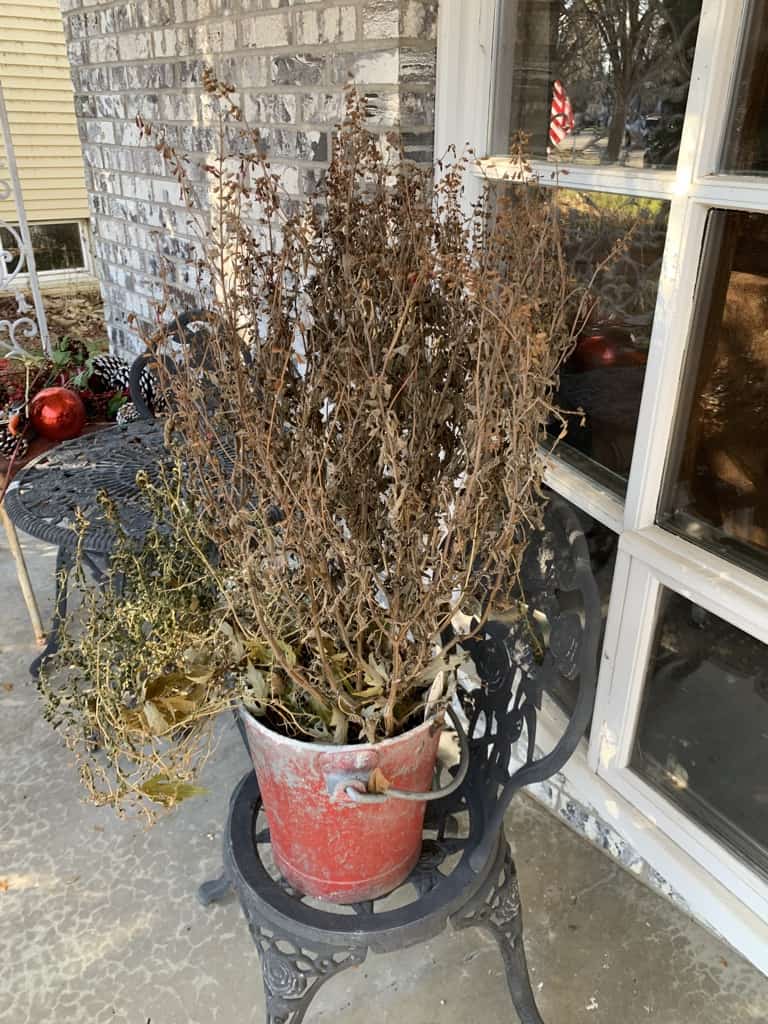
Do you have pots full of nasty-looking dead plants residing near your front entrance or on your back deck? Are your once lovely outdoor pots lonely and empty? It doesn’t have to be that way. Holiday porch pots are easy, fun and satisfying. Better yet, once created, you can enjoy them all the way through the harsh cold and bleak days of winter. These pots, pre-made, sell for $50, $100 and more in stores. My sweet mom taught me how to make these and I’m excited to share with you.
As an Amazon Associate I earn from qualifying purchases.
Suggested Supply list
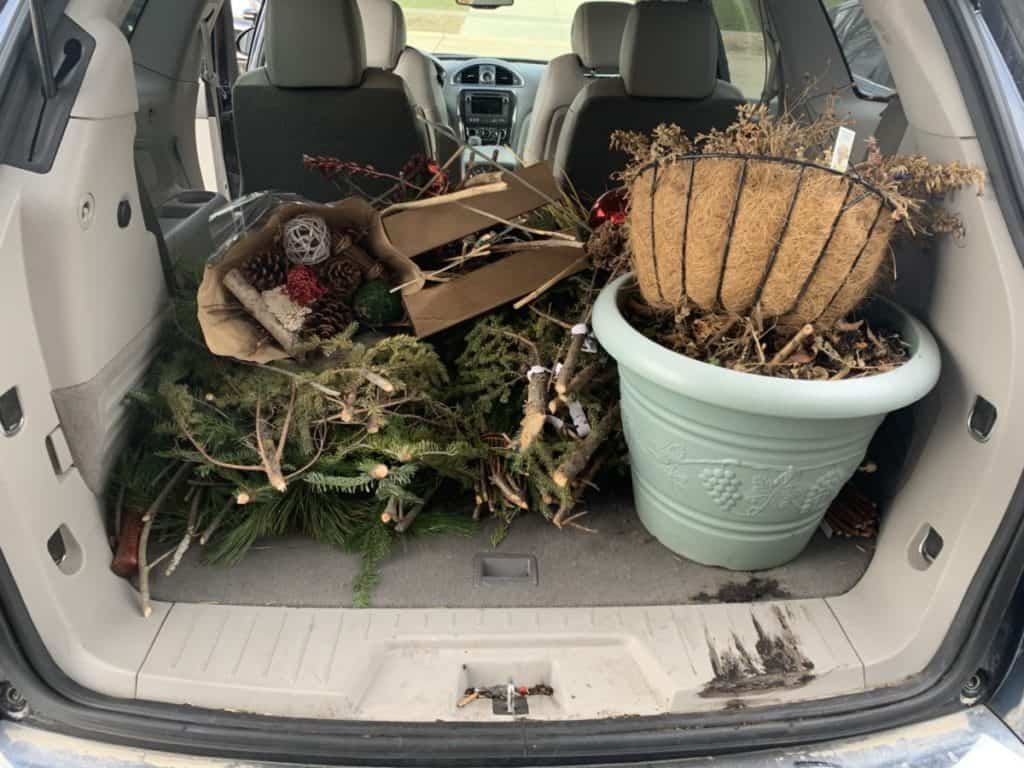
- Pots – plastic or galvanized metal are best. Ceramic pots should be stored indoors for the winter to avoid cracking.
- Potting soil – use what’s in the pot from the growing season for sure. You may need some to top it off or to fill your pot if you’re starting new. For this project, really any potting soil will due.
- Hand-held pruner
- Gloves – My favorite gardening gloves, I’ve been wearing these for years.
- Spruce tops – found at local nurseries. T
- Other evergreens – found at local nurseries or harvested from your property.
- Large screwdriver or other tool for poking holes through soil and roots in pot.
- Floral picks for attaching to decorative additions.
- Decorative stems
- Bows
- Pine cones – by themselves or for big impact you can purchase pine cones on stakes at craft stores. It’s great fun to go on a hike in nature and collect your own pinecones for free!
- Spray painted dried foliage
- Sticks such as red twig, curly willow or other visual interest
- Anything you want to add! Have some fun with it!
Instructions
- Gather materials – this is your chance to get creative. Spruce tops and other evergreens are the foundation. Sticks, twigs, pinecones and decorative items add the character.
- Remove summer foliage – simply clip the foliage off at soil level. The roots in the pot can actually help hold in your porch pot additions.
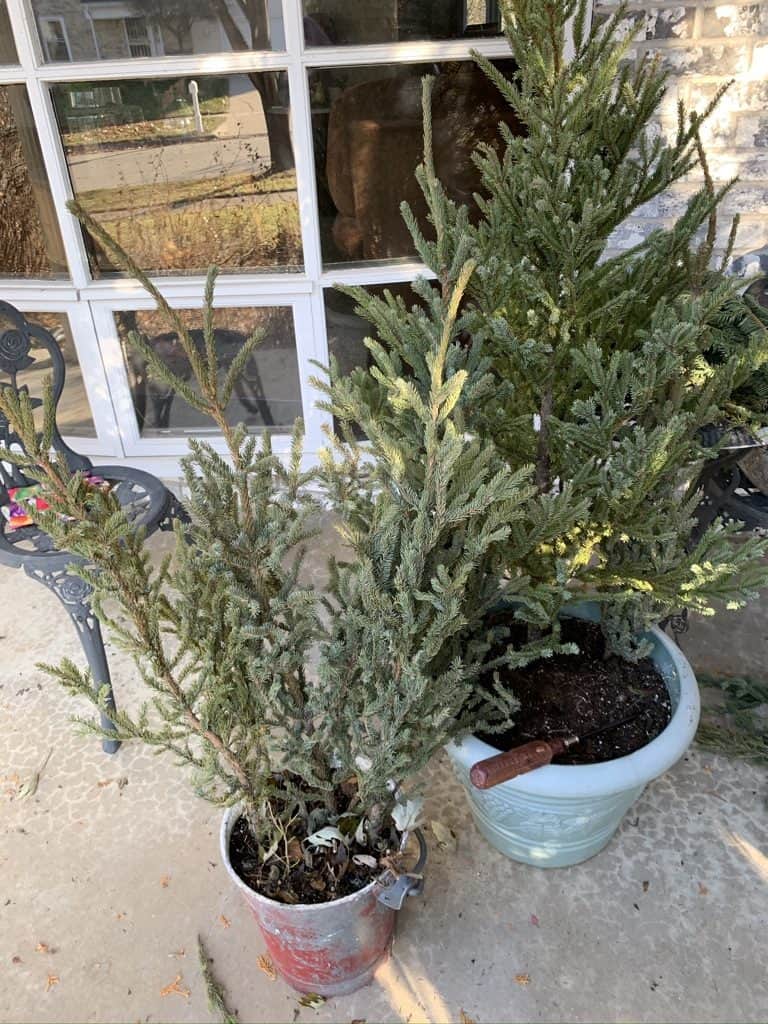
- Trim – cut the bottom of spruce tops and lower branches as needed.
- Build the foundation – add spruce tops or other greenery as desired, inserting them deeply into the soil for stability. Your large screwdriver will come in handy for inserting your elements through the soil and roots. Leverage different kinds of greenery for color and texture contrast. Fill the pot quite full for the best look.
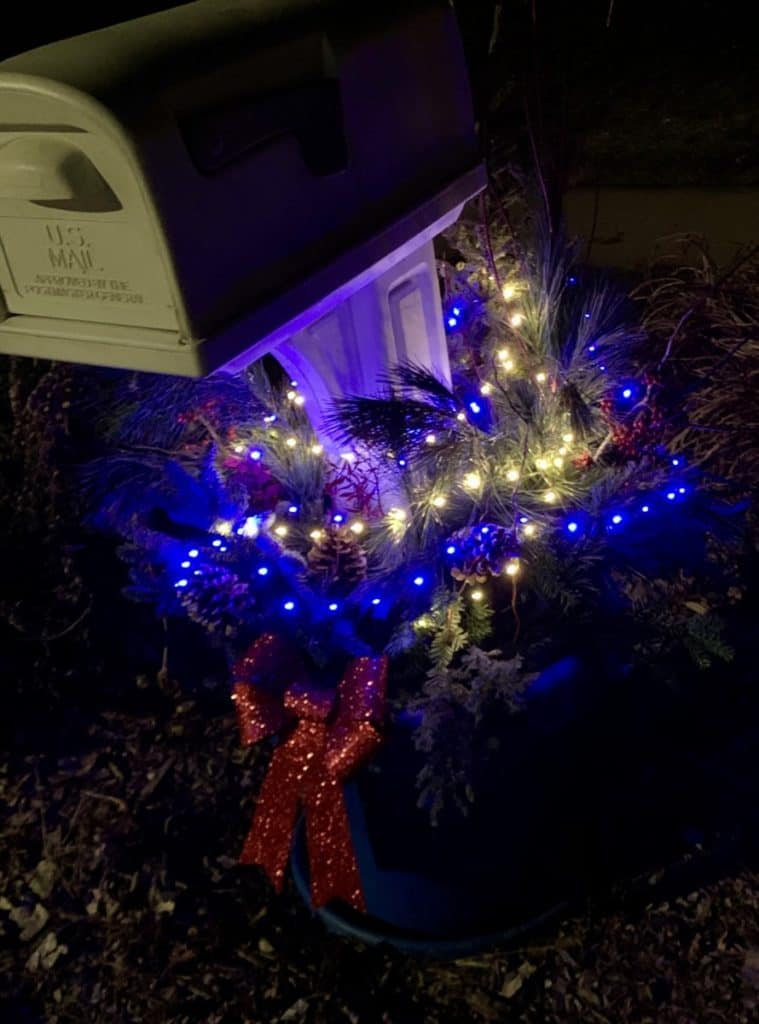
- Decorate – add decorative elements such as sticks, branches, pine cones, spray painted dried foliage and bows. For a lovely evening look, add battery operated lights. These lights help achieve hands-off lighting featuring a 24 hour timer coming on for 6 hours on, then off and repeat.
- Water – it is very important to water your new creation deeply the day you create it and the next day or two as well. After that, be sure to keep the soil moist until it is well frozen. As with all planting pots, good drainage is a must.
- Lasting beauty – There is no need to spray artificial chemical preservatives on your creation. If well-watered until frozen, your porch pot should stay looking good until early spring.
- Spring – Eventually your lovely porch pot greenery will begin to dry and turn brown. Compost the natural unpainted elements. Save decorative additions to use year after year.
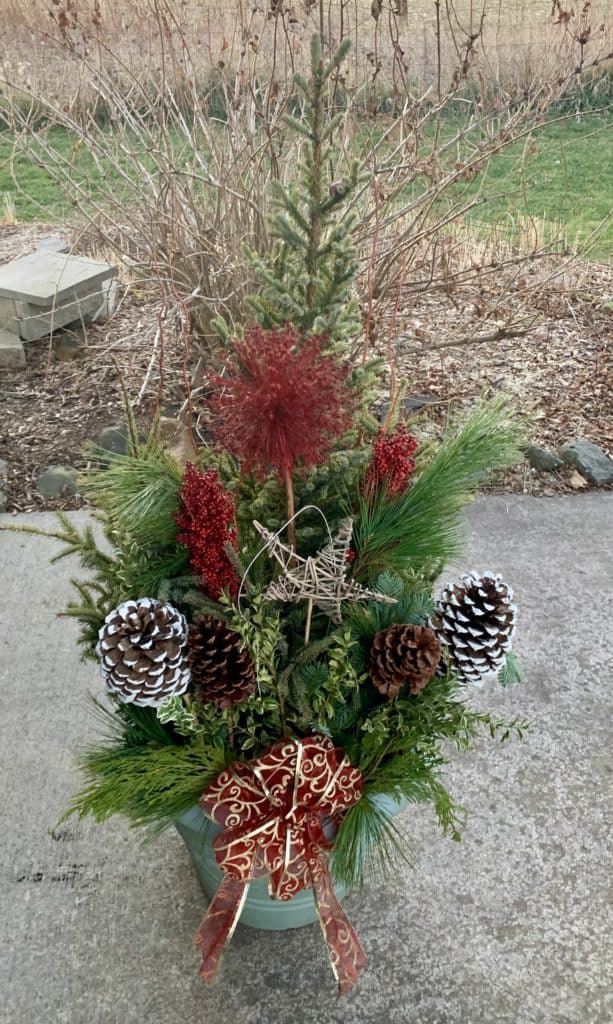
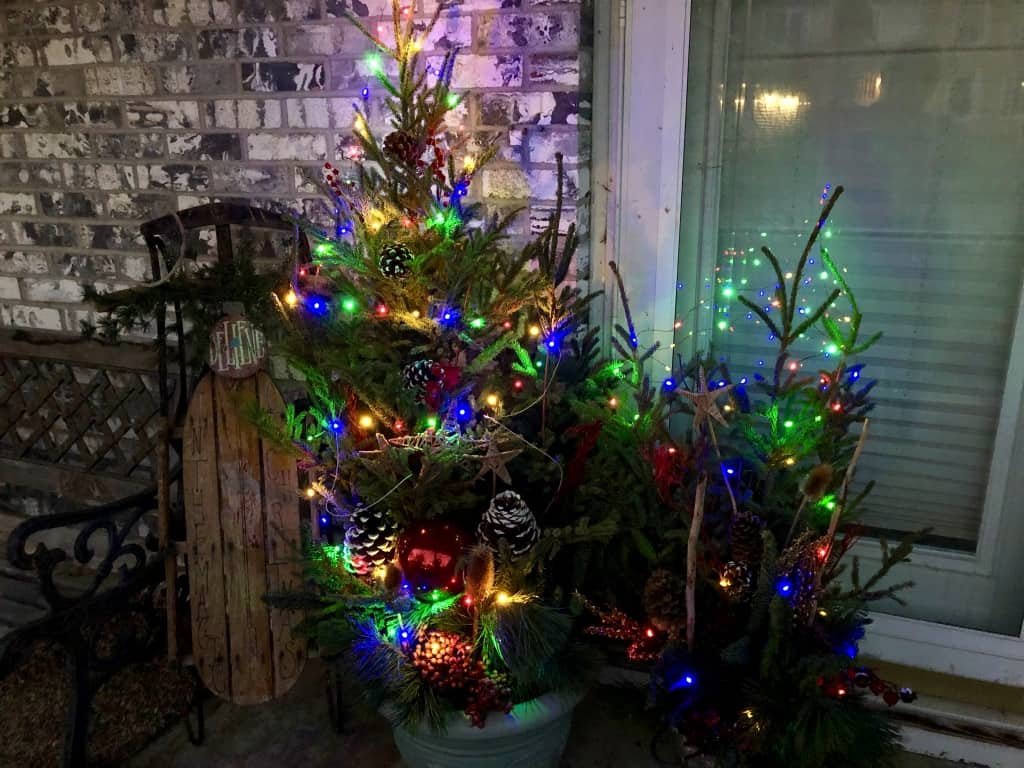
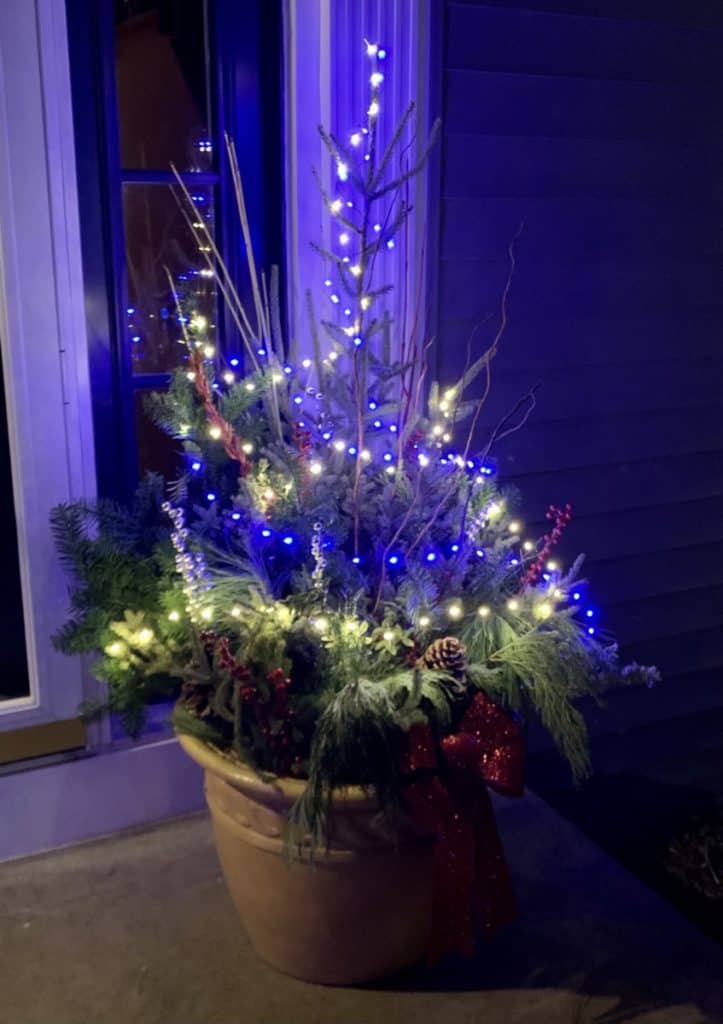
Enjoy making your own unique holiday porch pots! I hope it becomes a fun tradition for you as it has in my family. Let the creativity flow!
No porch pot is ever the same. I’d love to see what you come up with. Send your pics to [email protected]. Who knows, I might even share them on my Facebook page to inspire and provide enjoyment to our Midwest Garden Gal family.
Sending wishes for a safe and happy holiday season to you and yours!
~ Lisa, Midwest Garden Gal
SHARE IT ON PINTEREST
